Getting Real with Shadra Bruce
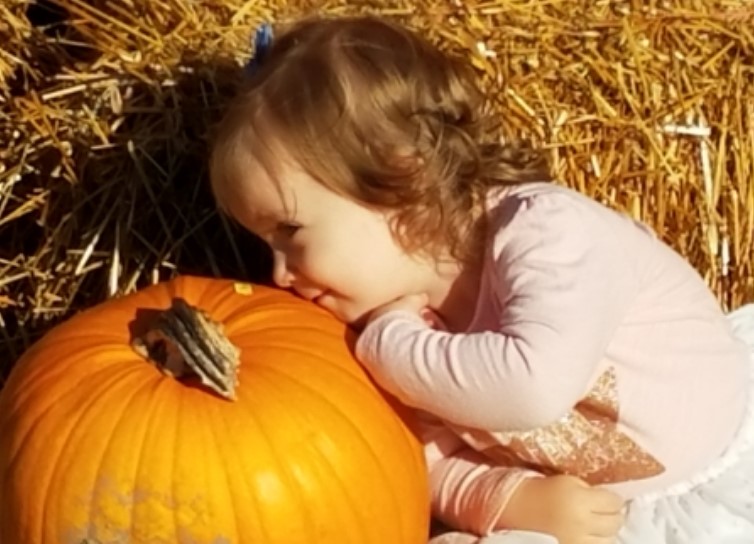
They’re already at the farmer’s markets and in the grocery stores, and if you have kids, it’s probably soon to be on your agenda to carve your Halloween pumpkin. Carving pumpkins is a favorite Halloween activity for all ages, but it’s not always the activity we’re ready for. It may not occur to you until you are elbow-deep in pumpkin innards what a mess this tradition is. How to carve your Halloween pumpkin without the mess can happen, but these tips will help:

Plan before you carve.
 Take a moment to plan before you carve your Halloween pumpkin. Before you reach for the carving knife, think about what kind of design you want to achieve. What you plan to carve can make a considerable difference in the time you should set aside for this activity. If you are going for a traditional jack-o-lantern, you won’t need nearly as much time as a complicated design that involves a printed template. Draw or trace your design onto your pumpkin.
Prepare the carving station.
 Where are you going to carve your Halloween pumpkin masterpiece? Outdoors is ideal, because pumpkin carving can get messy. If you don’t have access to a porch or driveway, and especially if it’s cold outside, carving your pumpkin indoors is perfectly fine. You’ll just want to aim for an area of the home that is easy to clean, like the kitchen. A kiddie pool is a great way to contain the mess, but you can always use a tarp, garbage bags, or newspapers to line the surface of your carving space.
Gather your tools.

Pumpkin innards cling to your hands, so don’t wait until you’re elbow deep in pumpkin seeds to start searching for your pumpkin carving knife. Make sure you have everything you need before you start so you can contain the mess to the carving station. What you might want to have handy before you carve your Halloween pumpkin:
- A wash cloth or bowl of soapy water for cleaning your hands
- A towel for drying your hands
- A colander for the pumpkin seeds if you plan to save and roast them
- A large spoon for each person for scooping innards and scraping the inside of the pumpkin clean
- Templates, if you’re using them for creating your design
- Sharpies for drawing a design onto the pumpkin
- Carving tools
Time it right.
Your carving should be timely in more ways than one. Set aside enough of your day that you’re not carving pumpkins into late hours of the evening with small children. Plan for at least an hour, and account for longer if you have intricate designs or more than one pumpkin to carve. Also, consider how and when you want to display your pumpkins. If you’d like your pumpkins lit on Halloween, don’t plan on carving the first week of October. You’ll have rotting pumpkins on your porch before they can be enjoyed by trick-or-treaters.
 Even the messiest activities can be organized. Once you’re done carving, you can toss the garbage bags or rinse the tarp outside. Pumpkins can be placed on the porch and tools can be rinsed in soapy water before they hit the sink. Clean up should only take a few minutes, which will be a relief after your labor of carving. Halloween can be terrifying, but pumpkin carving doesn’t have to be a fright.
MomsGetReal Roasted Pumpkin Seeds
Ingredients: pumpkin seeds, olive oil, salt, pepper, and garlic powder
Preheat oven to 325° F
Rinse the pumpkin seeds thoroughly in a colander until all the pumpkin flesh is washed off
Coat the seeds lightly in olive oil and spread onto a cookie sheet
Sprinkle with salt, pepper, and garlic
Bake 40-50 minutes until golden brown, stirring twice


")


